The Herculaneum workbench
So a while I posted on Instagram some pictures of this bench. After posting it I realized it should have been published here as an article. There is a lot more I would like to say about this bench than I could in an Instagram post. And it is much more comfortable to read here than there. So I apologies for spamming this topic.
The bench
This is my rendition of the oldest known representation of a workbench. It was found in the ruins of the Italian city of Herculaneum, which was buried by the same volcanic eruption by Mt. Vesuvius as Pompei.
Christoper Schwarz in his book; Ingenious Mechanics (2020) and Anarchist Workbench (2020), does an outstanding job of describing this bench and its history. So for a more detailed description of the history, I recommend his texts and will refrain from an imitation here.

However, in short, this is what is called a low workbench, that is to say, no taller than your kneecaps. It can easily double as a sitting bench as well. The way to work on and use this bench is very different from modern standing benches. There was no surviving material culture of the bench, but rather it was taken from the copper engraving made of a fresco during excavation. As such there is some degree of interpretation in Schwartz's work. I am however comfortable that even if it might not be 100% it is a working comfortable bench.
The construction
In all honesty, this is my second attempt at this bench. I made one of these in a hurry in 2020, based on having just read Schwartz's book and want to give it a go. I made several mistakes in this attempt, and it is now relegated to collecting dust in a corner in storage. So with a bit more time on my hands for planning, and determined not to repeat my mistakes, I went at it again in 2023.

The first bench was made out of random pieces of lumber I had kicking around the workshop. That resulted first and foremost in the bench top becoming too thin and narrow. It was comfortable to sit on with its roughly 150 mm or 6" and less than 48 mm (2") after planning for straightness and flatness. Yes, I had attempted to make a workbench top out of a single 2 x 6 piece of construction lumber.
This time however I wanted something better. For some time I had saved up some Nordic Pine for a table, that never went anywhere, and decided to use that. Having observed how the pine 2 x 6 had kept over the past 3 years. the bench was now thoroughly mistreated and abused given I had mentally abandoned it already. I can now say I Wholeheartedly agree with Schwartz in his statement that you can make a bench out of any wood. So I broke into my tabletop material. The slab had two live edges, and were I to plane both squares I would at most get 280 mm. (11") Weary of my earlier mistake I decided to be creative. by leaving one of the live edges I could squeeze out a 330 mm (13") bench on its narrowest and one that widens out to 380 mm (15") on the widest section.


One of the quirks of low benches, and the Herculaneum bench in particular, is the lack of face fixtures. There was no evidence for a face vice or clamps, or anything. As such I determined that it would be an acceptable trade. I would need to make sure that there was sufficient mass for work holding in the bench holes. And I would square one edge in case there would be cases I needed it (Spoiler there is).
The chosen slab was well over 90 mm (~3" ) thick before flattening leaving me plenty to work with. I took my time to flatten the top, using my Fore plane, and winding sticks until I was happy. At this point, I left the surface rough. The one side was squared to the top. The bottom of the slap was also flattened, but not as thoroughly as the top. I knew this might make the joinery a little harder, but as this was a side none should see it was deemed sufficient.
From here the next step was to lay out the joinery for the legs based on Schwartz's description. This was a reasonably simple task, and given I had done it once before, I had already made a bunch of mistakes to learn from. In contrast to the original which had 8 legs, I chose to make only 4 legs again. I did however draw up the joinery for another set of legs should I decide to try. Having tested the bench now with 4 legs I definitely will add another 4 once I get around to it, and see how it changes how I work on it.

The legs themselves were taken from some old barn beams I had lying around. After cleaning up two sides I determined that they had nice and straight grain. I was also stuck by something I probably will do a full rant about at some point. but the beams, as well as the slab itself demonstrated some of the best growth ring density and early to latewood ration I had seen in some time. Essentially one of the legs ended up having an almost reversed ratio of late to early wood from normal.
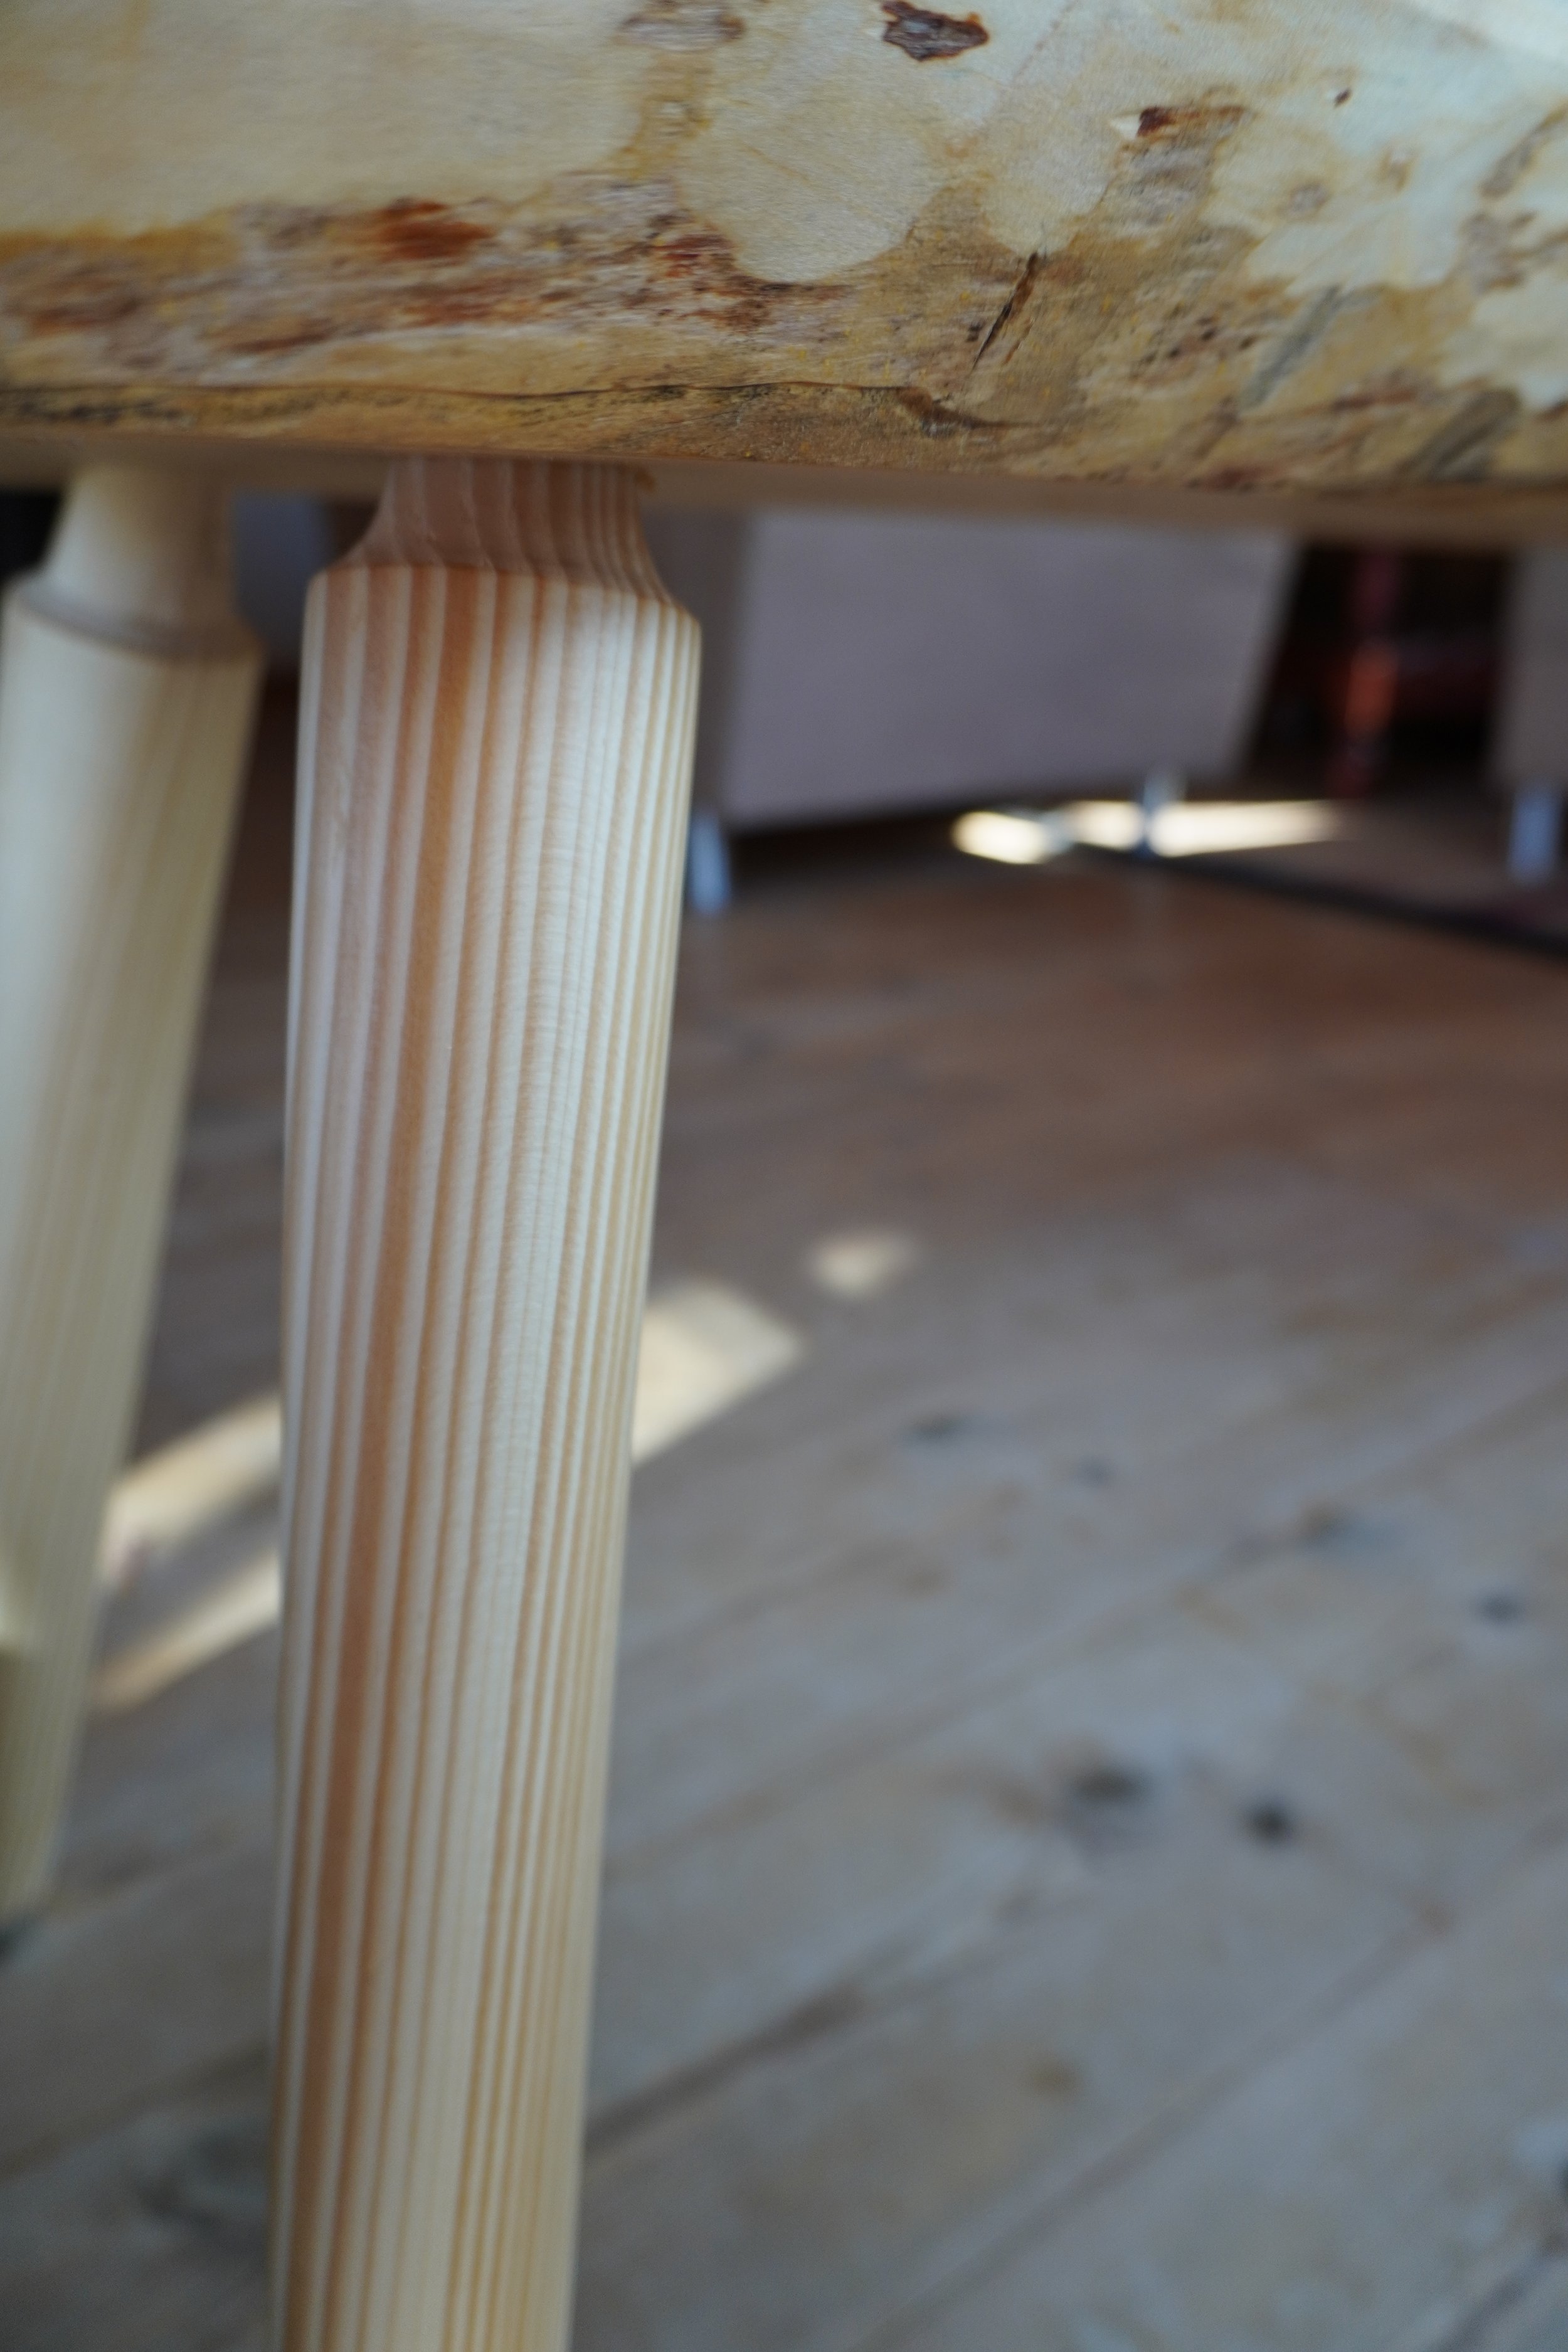
After pre-cutting the leg blanks with a band-saw, I turned to my late and turned (Pun intended) the leg to the shape I wanted. While there is something to be said for the octagonal-shaped legs Schwartz advocates, as well as the square legs I have seen in several paintings. I have a weakness for a smooth curve, which might be the bowyer in me.
In Schwarz's book, he describes the tenon holding the legs to the top as chunky and cylindrical. This is probably my largest deviation. On the first bench, I made them cylindrical and wedged them. They were solid like stone... I had forgotten this was supposed to be a mobile bench... It was impossible to get the legs out. and transporting an assembled bench over a distance is awkward. At one point one of the legs broke while travelling, but the tenon itself was fine, grain defect. So in this second attempt, I knew I wanted conical tenons, that weren't wedged. I knew this might leave them loose, which it did, but that was a sacrifice I was willing to take, for the portability. And once the legs were seated, and I had used it for a bit, it was rock solid again. My Main challenge with the conical tenons was my reamer. I only had a small one. To this day, I feel like they are on the small side. The bench is solid, but when I look at them, they feel weak. Probably at some point, when I have a bigger reamer, I will make the tenons bigger.
The Final task of the assembly was the laying out and boring of the bench holes. I have always been fascinated by this particular hole layout. I find it absolutely genius, and will explain why when we come to the usage section. Since my first iteration, I have acquired a set of forged bench hooks. These were for my normal standing bench, but I already loved them so much that I knew I wanted to use them here as well.


While not strictly necessary, I topped the whole thing with a couple of layers of finishing oil, to perverse the wood colour and make it easier to remove glue droplets. Once dry, on a whim I threw some sheepskins over it, and almost went to sleep on it.

